Discover how to recreate the iconic nineties-inspired graduated cut with a heavy crown, a versatile look that delivers effortless style with a modern, sharp finish.
The classic heartthrob haircut is making a definitive comeback. Characterised by its relaxed parting and heavy, textured crown, this style balances a casual aesthetic with precise technical structure. Mike Taylor, Founder of Mike Taylor Education, showcases exactly how to execute this sought-after look, ensuring a low-maintenance finish that falls into place naturally.
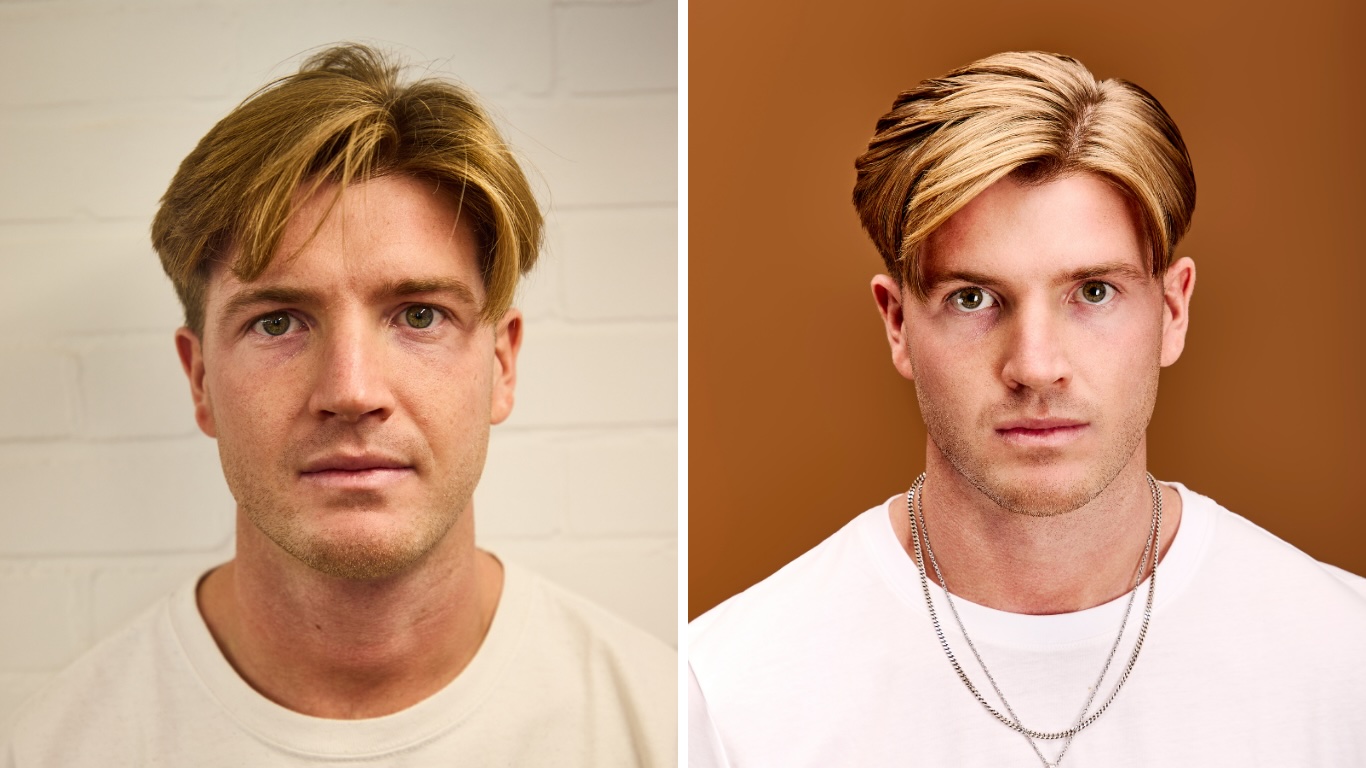
Scroll down to see the incredible side-by-side transformation – (because seeing the before next to the after truly proves the power of a precision cut).
But how do you master the balance of weight and graduation?
Step 1: Section and Shape
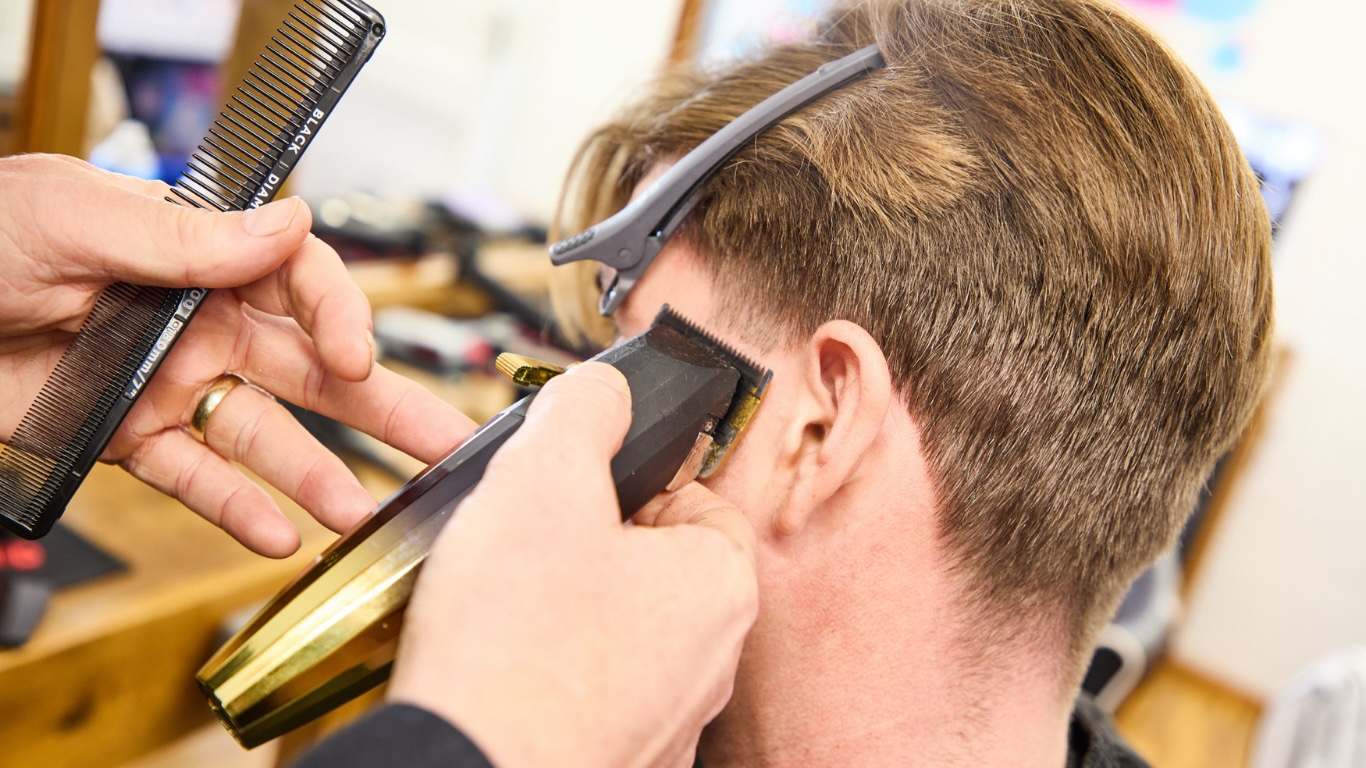
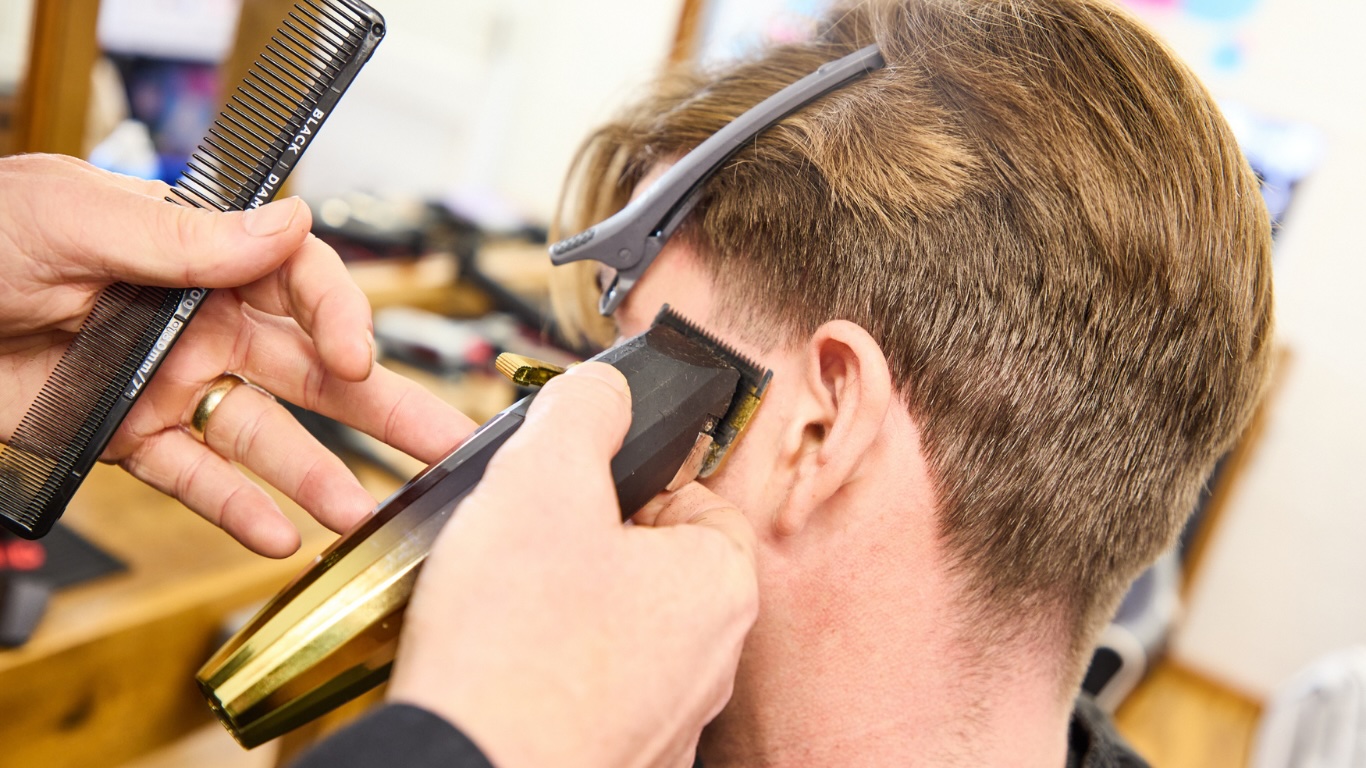
Isolate the top section. Starting at the sides in front of the ear, clipper the hairline using a 'C' motion to create immediate graduation.
Step 2: Graduate the Hairline
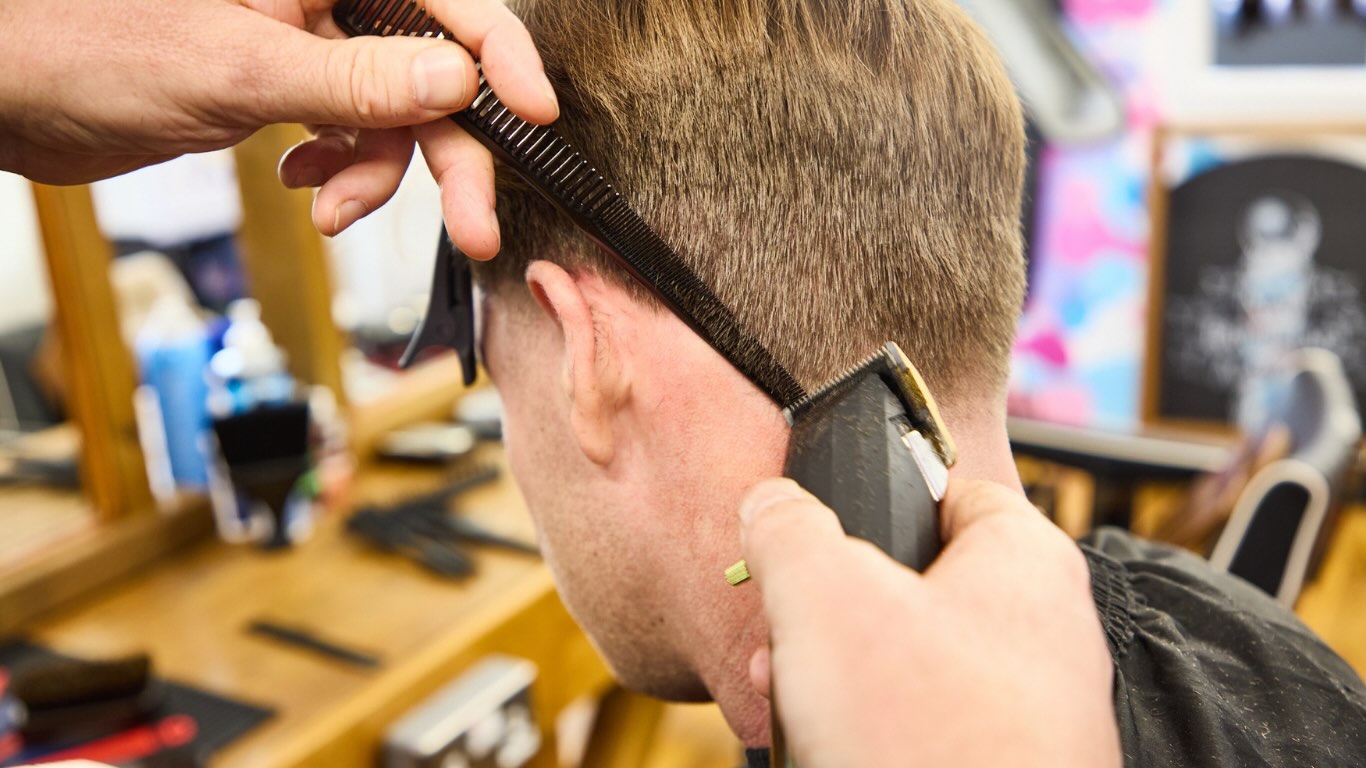
Move behind the ear using a clipper-over-comb technique with a taper comb. Work up the head from the short grade toward the longer top section, stopping level with the occipital bone.
Step 3: Set the Guideline
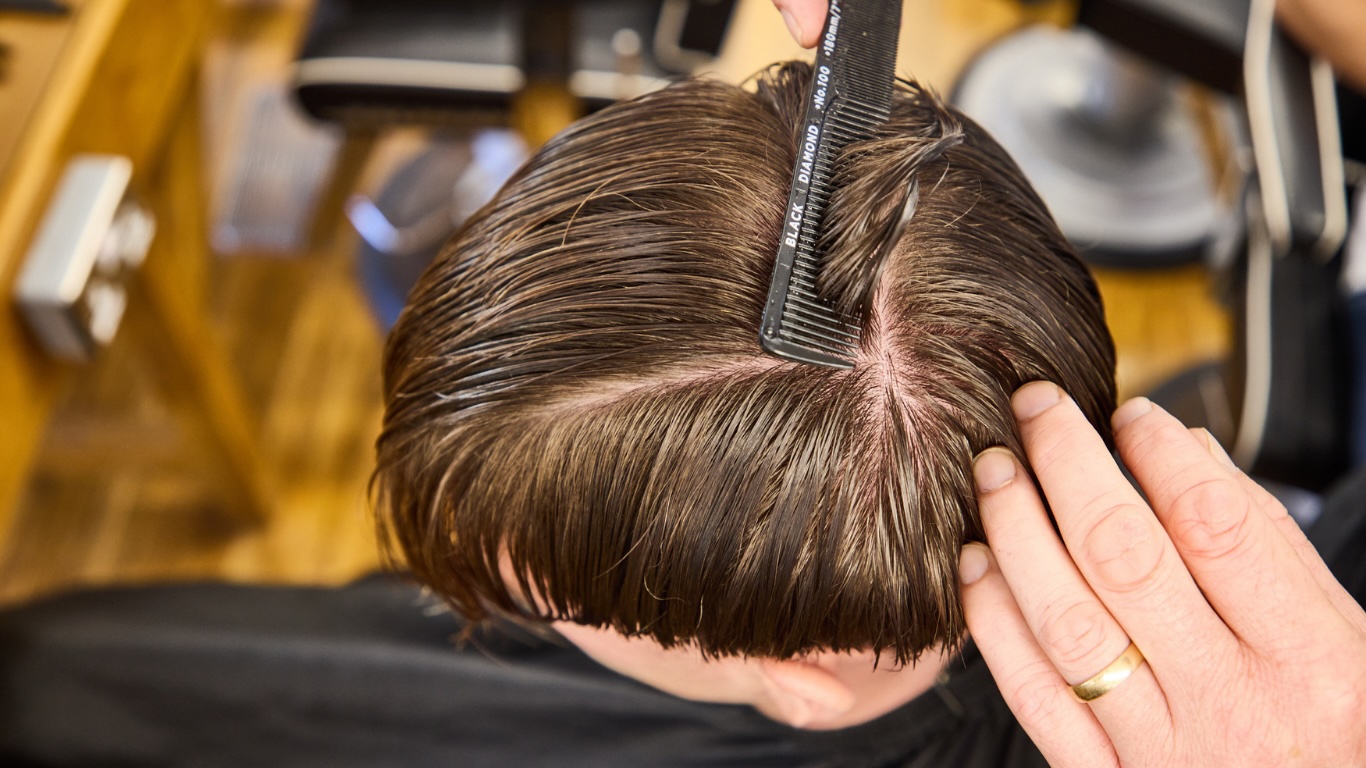
Take a horizontal section at the crown and cut a guideline with a cutting comb. This serves as your shortest layer, acting as the anchor point for the rest of the cut.
Step 4: Over-Direct for Weight
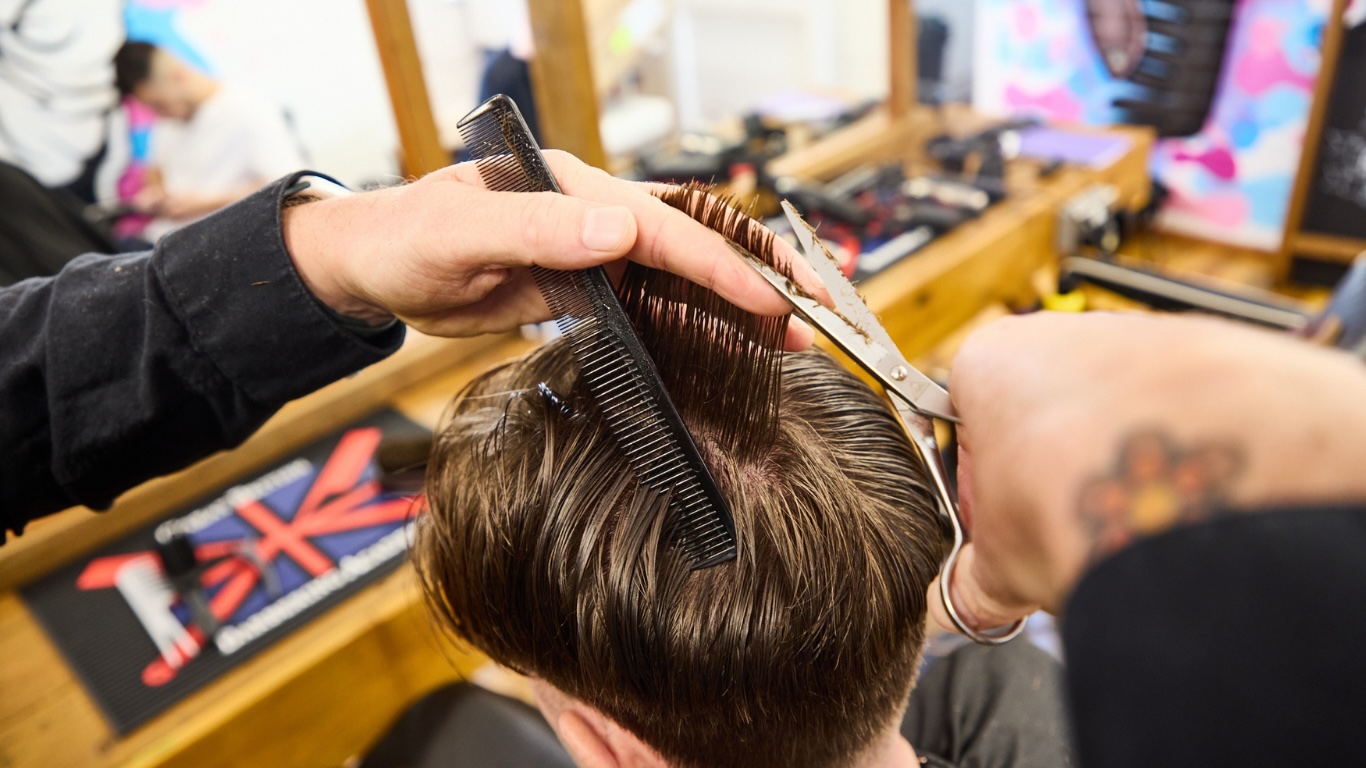
Take a vertical section from the crown to the fringe. Cut everything to your guideline, pulling all sections back to keep length at the front and weight at the crown – (crucial, because that is what creates that iconic shape).
Step 5: Disconnect the Sides
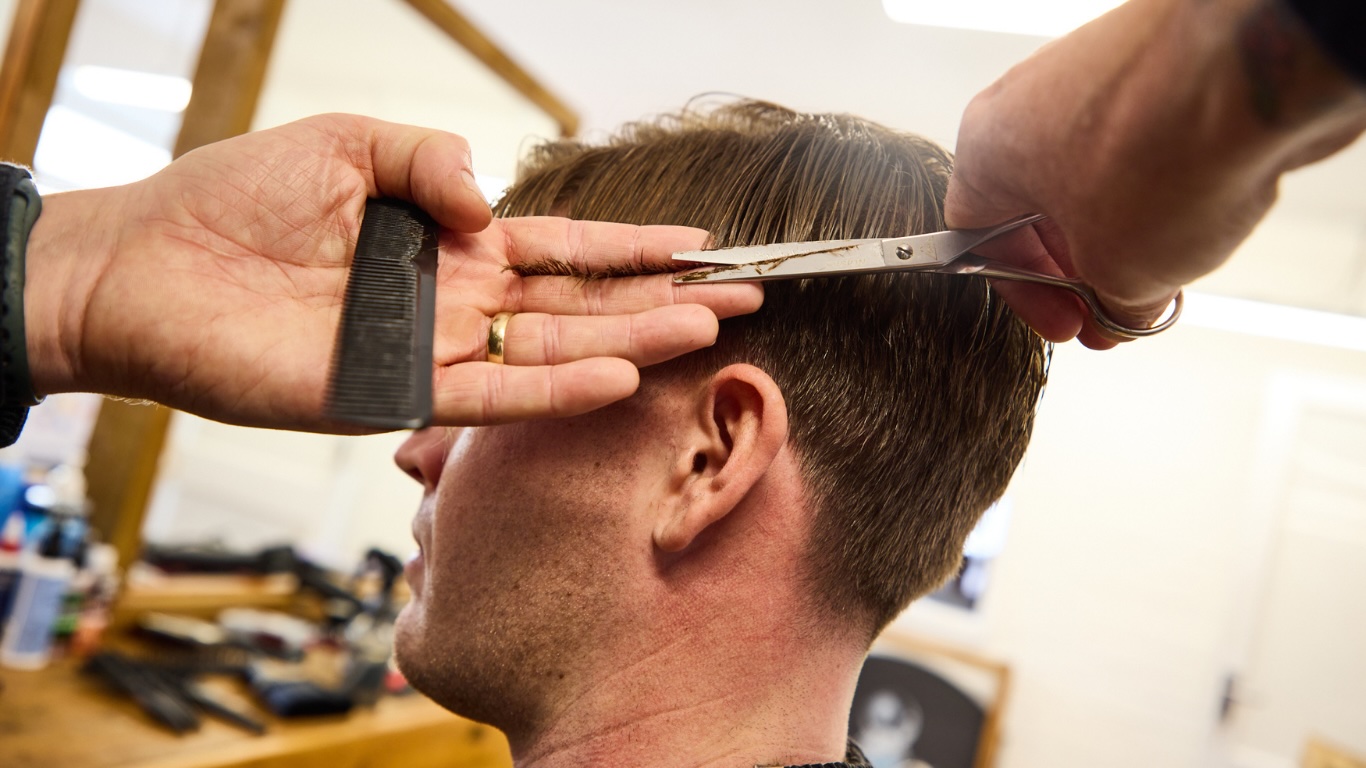
Pull the hair down at the sides from the top and cut a disconnected section following the line of the occipital bone. Repeat on the other side, checking for balance.
Step 6: Clean the Perimeter
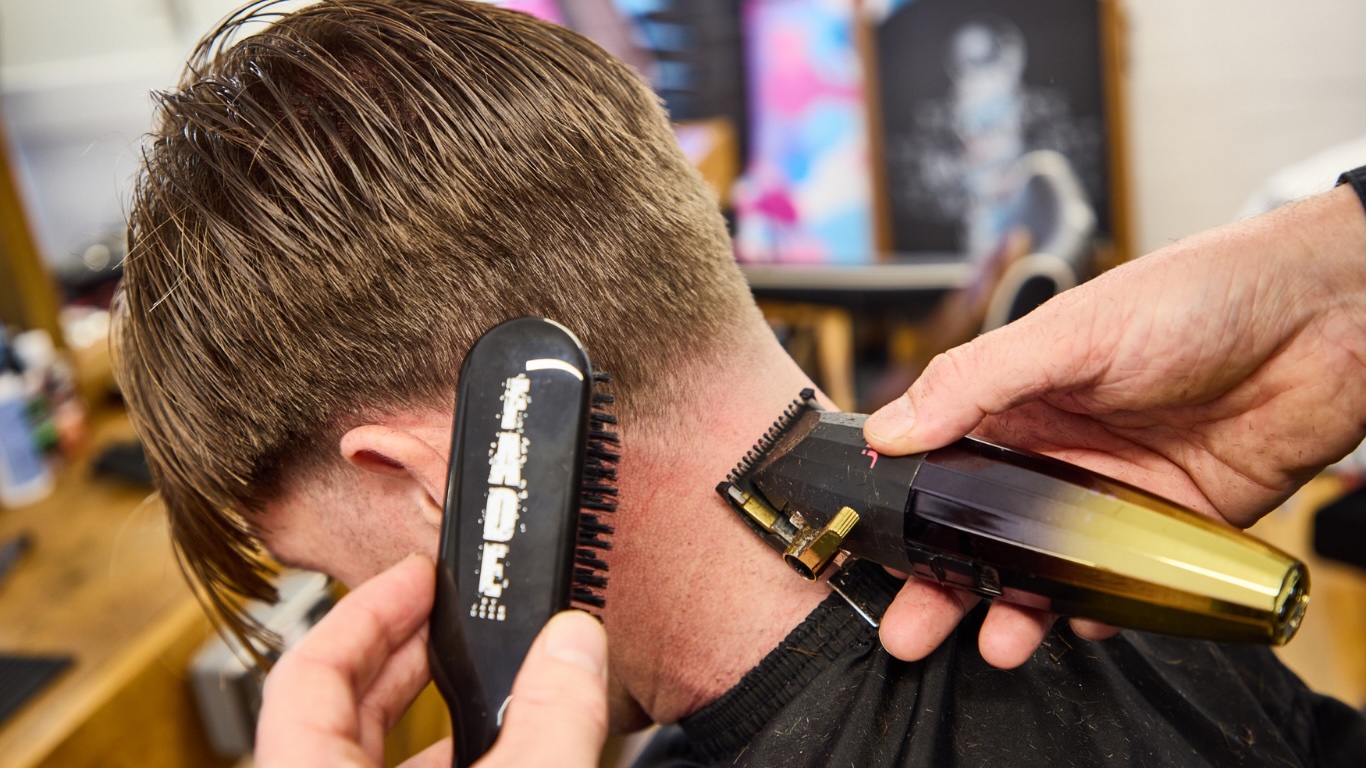
Fade the nape with clippers and edge the sides sharply, using a fade brush to keep the skin and section clean.
Step 7: Wrap-Dry for Volume
Flatten the sides and wrap-dry the hair using a seven-row styling brush, allowing it to fall into its natural parting. Use the pins to tuck into the root, lifting away in the direction of fall to create modern volume.
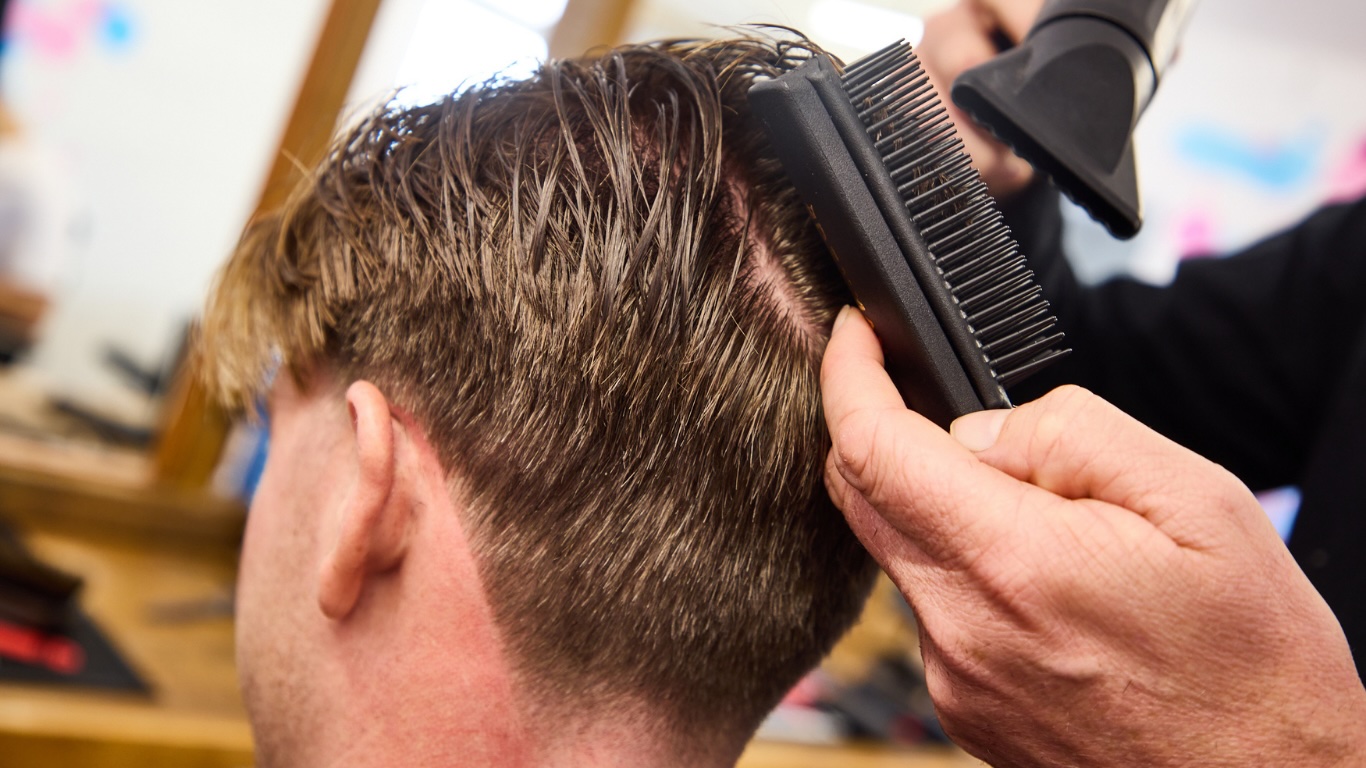
Step 8: Define the Texture
Finish with a mist of sea salt spray. Use a fantail comb to piece out the look, creating light, casual texture and definition.
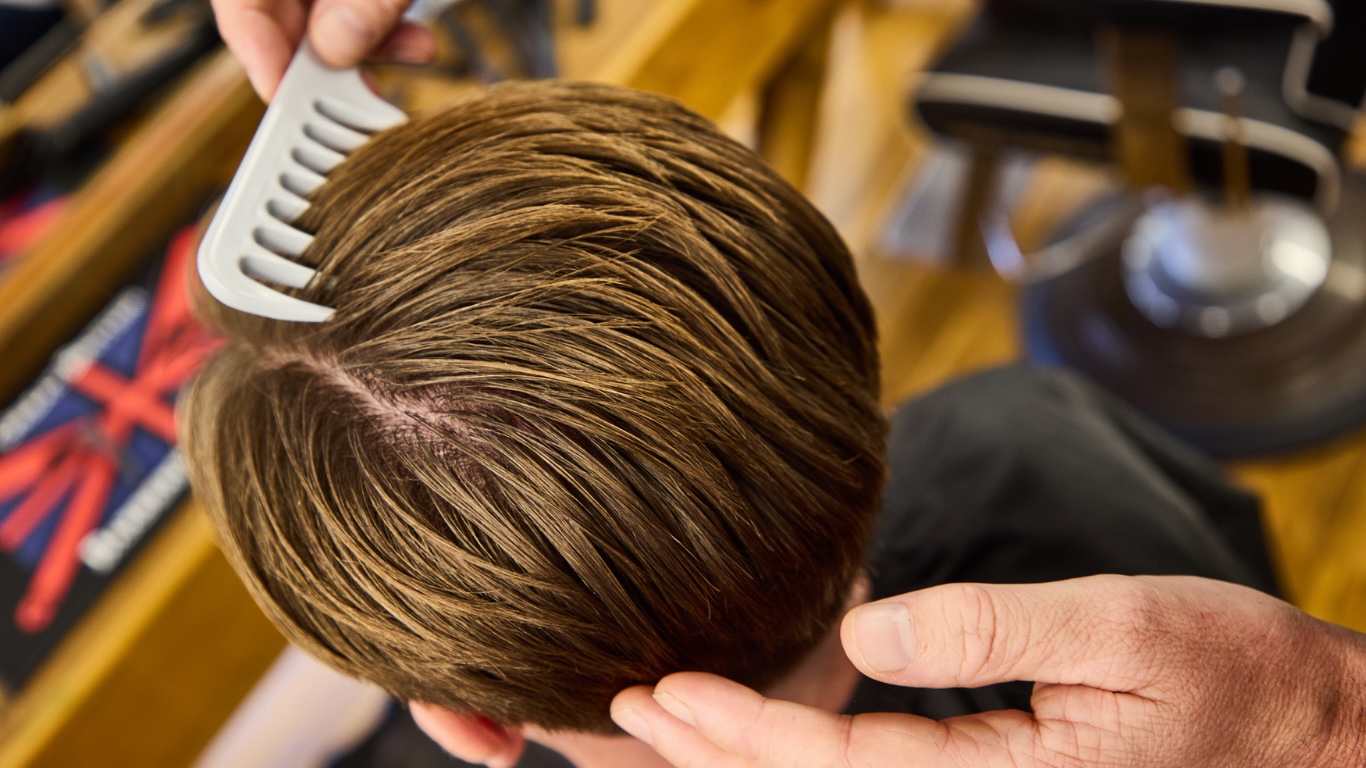
Before + After
Credits
-
Hair: Mike Taylor, Mike Taylor Education
-
Photography: Liam Oakes
This is a sponsored post in collaboration with Denman.