Published
17th May 2023
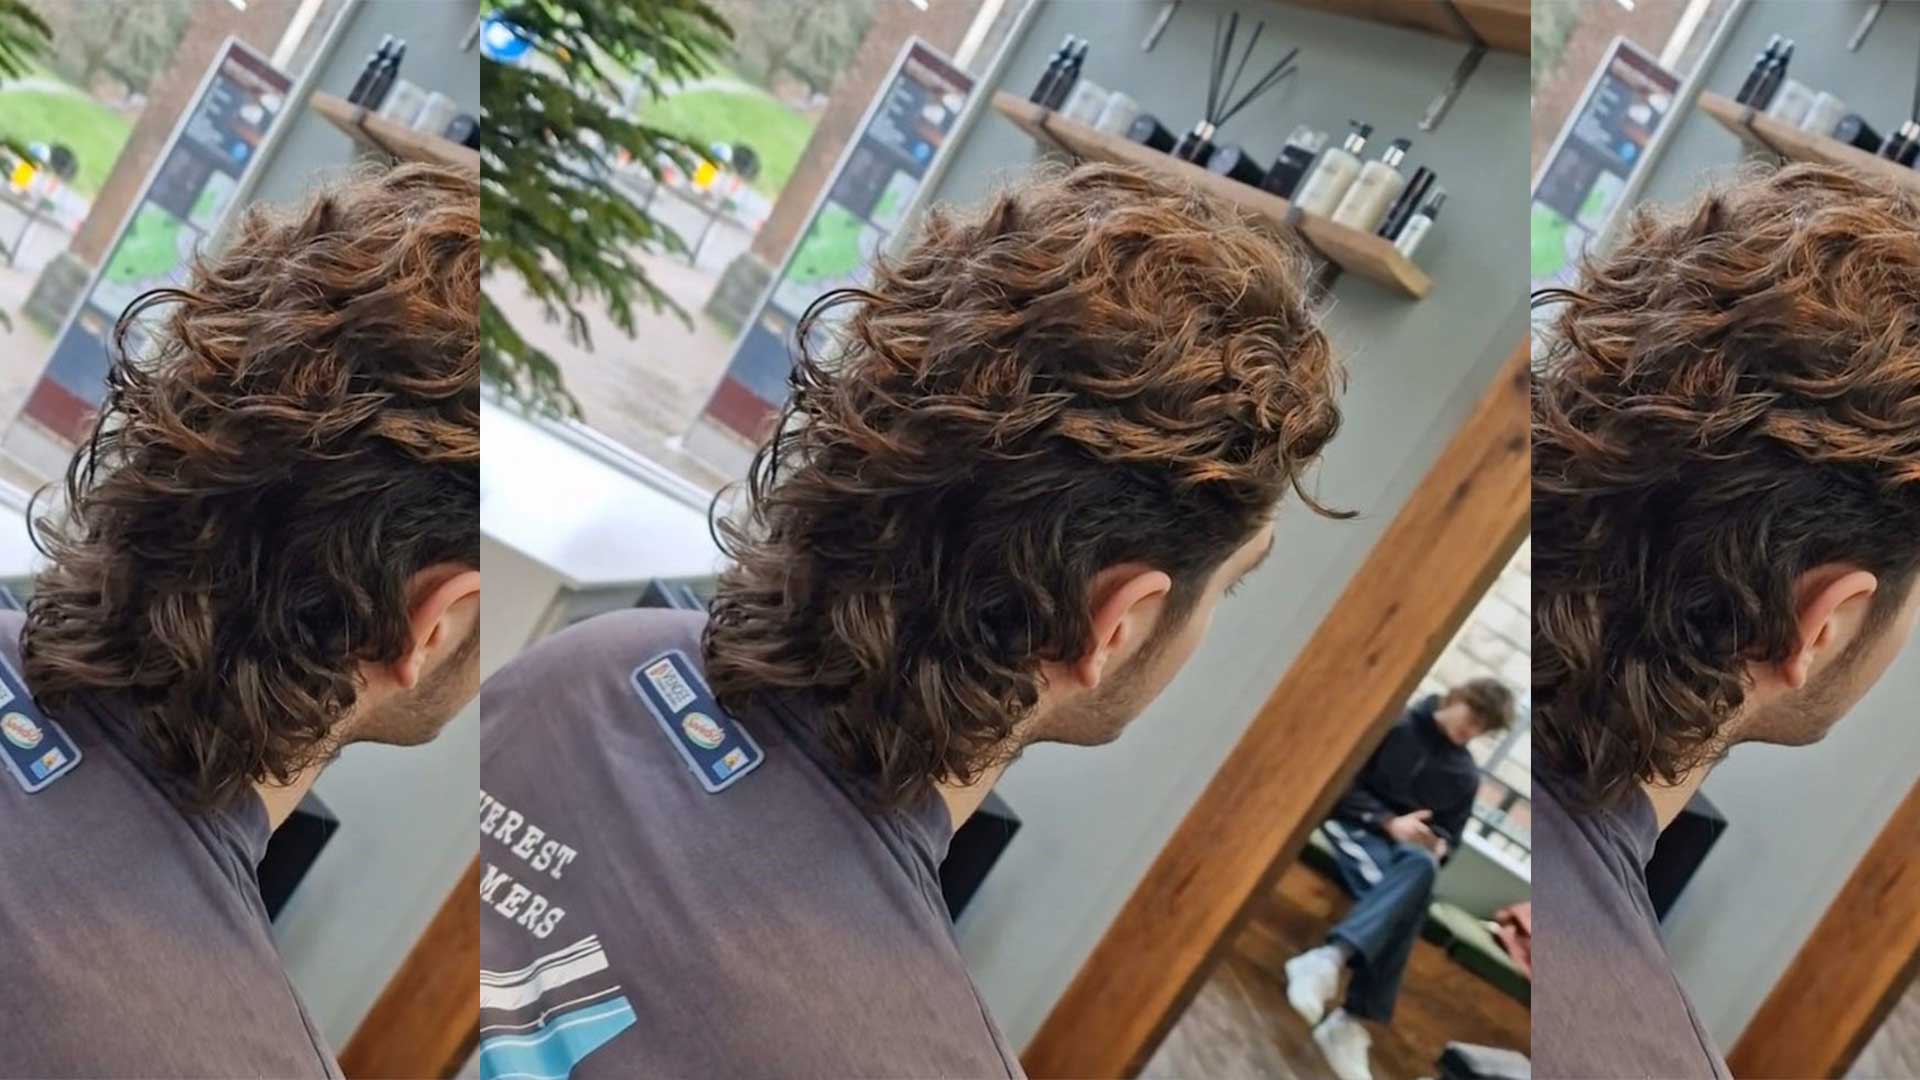
This month, Oliver Hill from Max Oliver shares his guide to cutting and precision, allowing you to connect a mullet.
How to Connect a Mullet
- A centre profile parting is placed, followed by a high radial section from above the crown to behind the ear, lastly followed by a diagonal forward section from the radial down to recession.
- Diagonal backs sections are then taken through the sides using a low elevation and cut descending in length towards the ear. This will build graduation whilst maintaining good length internally through the side curvature.
- The back is then partly connected to the sides using curved sections from the radial to mastoid, overdirecting everything back to a statuary section above the ear, and cut vertically, descending in length following the graduated guide created through the side.
- Curved sections are continued up to the centre radial, each section finishing at the same point on the mastoid behind the ear, each section overdirected to the statuary vertical guide above the ear.
- The back is then cut vertically, each section over directed to the previous. Above the occipital is cut square, Under the occipital is cut reverse, increasing in length towards the base line.
- The top is now connected into the sides and then lifted up and cut vertically as you would a classic pushed back cut, reassuring you leave a disconnected fringe for free flowing movement and control.
The mullet is a great scissor cut to have in your arsenal – when we surveyed Modern Barber readers, 87% of respondents said they have been getting requests for the style. Want to check out the full findings of the survey? You can find them here.


